How to make a witch hat
23 Oct 2017, 10:42:00

Witch hats are a Halloween staple and if you haven’t had time to go out and buy a Halloween costume, you can make one in about 10 minutes.
Just pick up some black card and follow our instructions to make a quick and easy costume that your friends will think you spent hours preparing (we won’t tell if you don’t!)
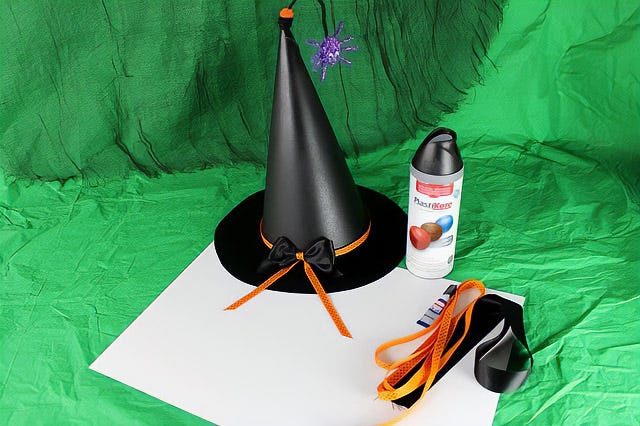
What you need:
- 2 pieces of black cardboard (A3)
- Scissors and glue
- Ribbon to decorate (optional)
- Elastic strap (optional)
We used white cardboard and spray painted it black for a glossy finish but black card works just as well.
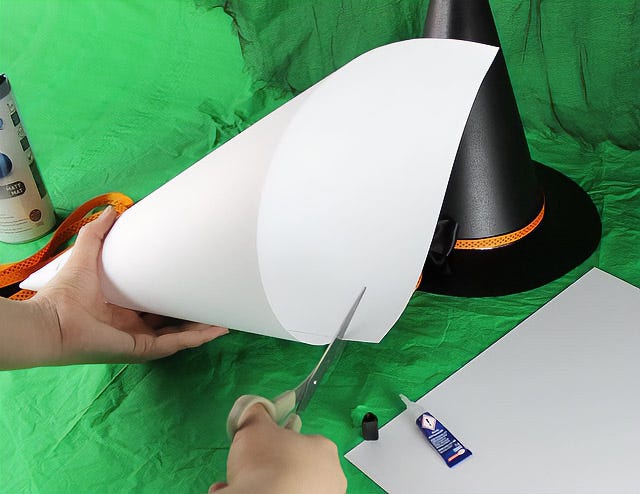
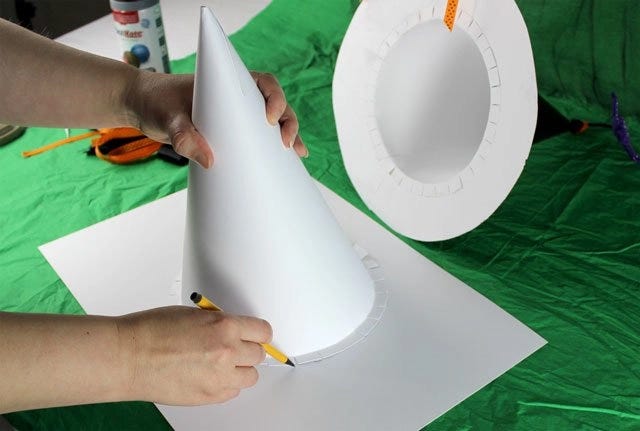
First things first, take a large piece of cardboard and fold it into a cone shape. Then cut off any excess so that the bottom edge is level.
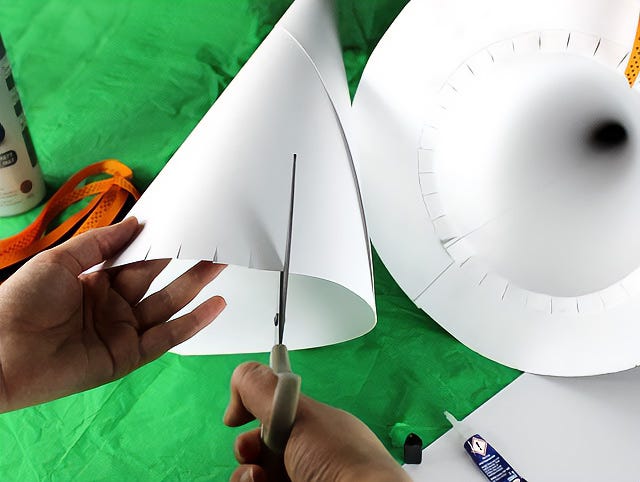
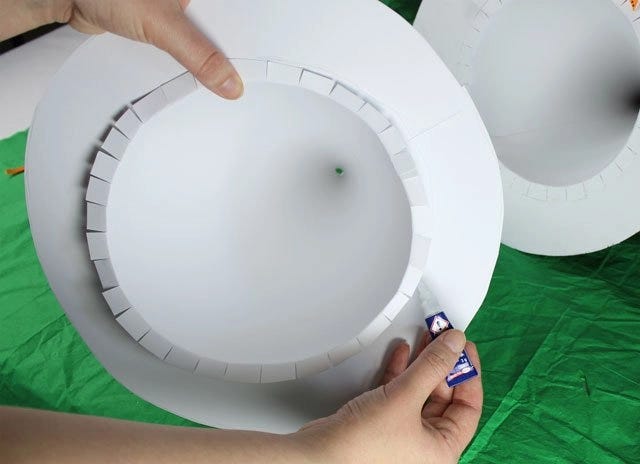
Next, take a pair of scissors and make 1 1/2 centimetre cuts all the way around the bottom of the hat. This is important for attaching the brim of the hat later on.
Now it’s time to make the brim of the hat. Bend each of the slots back on themselves and place the cone on top of another piece of cardboard. Take a pencil and draw all the way around the bottom of the hat to ensure the brim is the right size to fit comfortably around it.
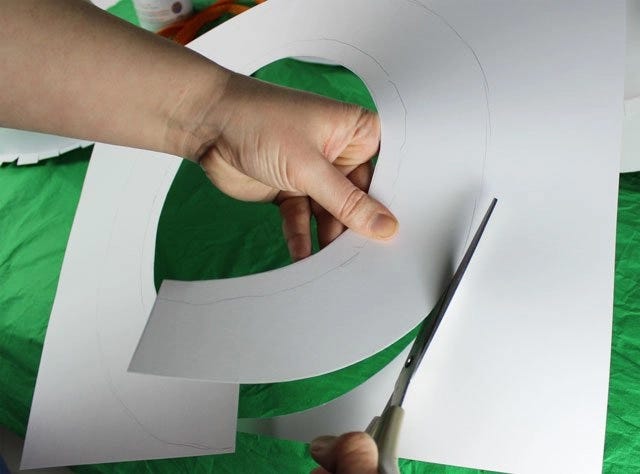
Then draw a wider circle around the original circle to complete the brim and cut it out. How wide you want the brim to be is up to you but we’d recommend about 2 inches.
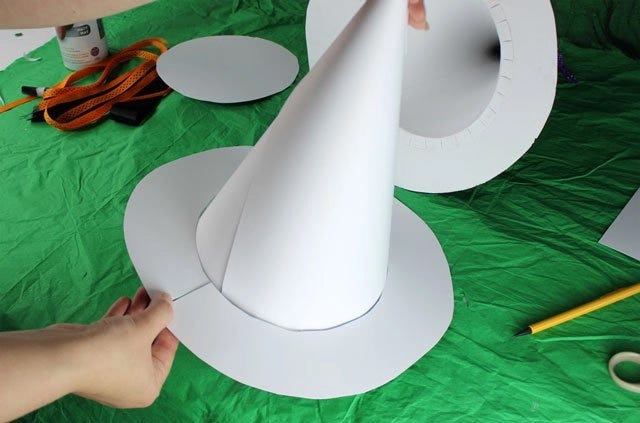
To attach the brim to the hat, simply slot it over the top and use super glue to stick the small slots onto the bottom of the brim. This should be enough to keep it in place.
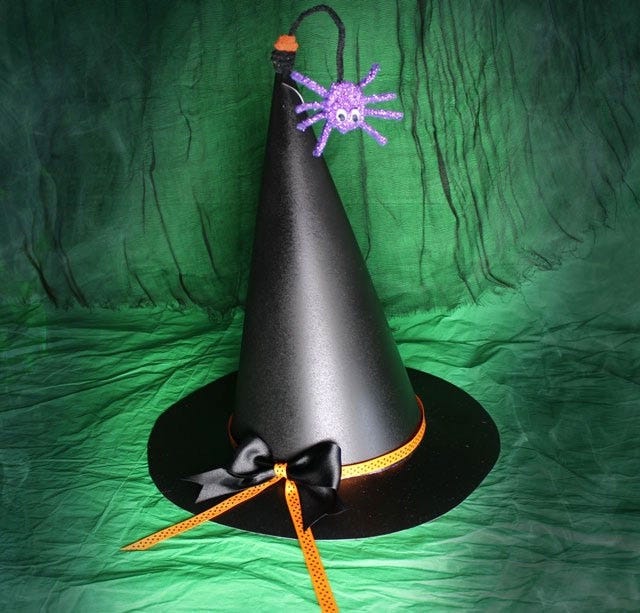
And there you have your basic witch hat! If you used white card like us, you’ll need to spray paint it and leave it to dry. If you’re feeling adventurous you could decorate it with orange and black ribbon but it looks just as good as a plain black hat. Finish off your witch’s outfit with a black dress and some witch’s shoes and you’re ready to go trick or treating!